When performing photo documentation as part of an assessment in Parable, wound/lesion sites (whether 2D or 3D scanned) must be properly aligned before capturing measurements.
Regardless of which photo capture option was selected for an assessment, aligning and measuring the wound/lesion site is always the last step of the photo documentation phase.
Aligning the Wound/Lesion Site
After a Smart Scan or Smart Photo, the resulting 3D capture of the wound/lesion site should be oriented to match the patient's head-to-toe alignment. Treat the patient's head as the 12 O’clock reference position, and the patient's feet as 6 O’clock. Use touch gestures (shown on the left side of the screen) to align the 12 O’clock position of the wound/lesion site with the patient's head.

Once aligned, submit the photo to proceed with wound/lesion site measurement.
Measuring the Wound/Lesion Site
Automatic Measurement
Once the Smart Scan or Smart Photo has been aligned, measurements will be captured automatically.
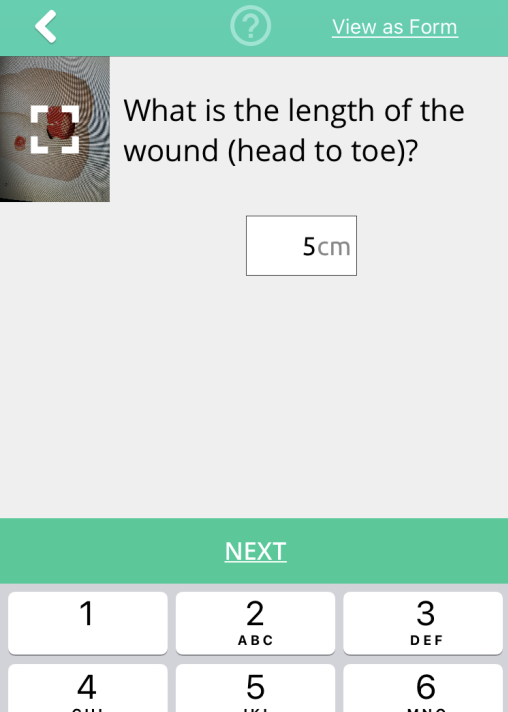
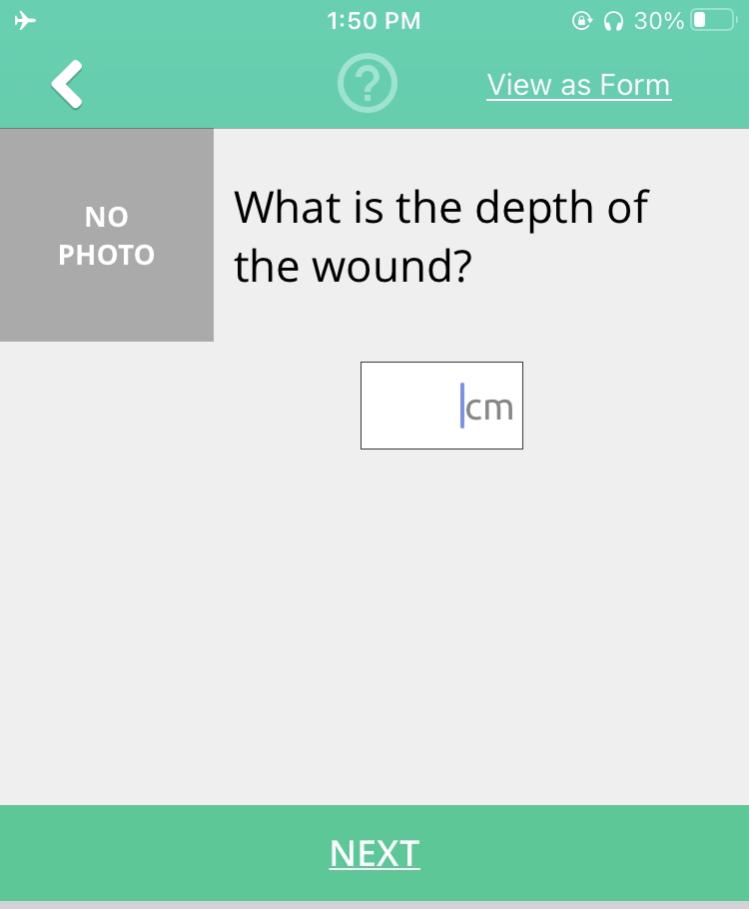
Manual Measurement
If you selected the 'Skip Scan' or 'Normal Photo' photo capture option, alignment will be skipped and the user will enter measurements manually.
After measurements are entered, the assessment proceeds to the clinical assessment question sets.